「Vue CLI 3のインストールメモ - フルスタックエンジニア目指して」でVue CLI 3をインストールした前提でのお話です。
Nuxt.jsのコミュニティがTypeScript用のプロジェクトテンプレートを用意してくれているので、それを使用します。
https://github.com/nuxt-community/typescript-template
README通りに進めると以下のように「@vue/cli-initをインストールしろ」というエラーが出ました。
$ vue init nuxt-community/typescript-template <project-name>

  Command vue init requires a global addon to be installed.
Please run yarn global add @vue/cli-init and try again.言われた通り、@vue/cli-initを追加します。
$ yarn global add @vue/cli-init再実行します。 プロジェクト名やプロジェクトの概要、作者などが問われますので入力します。
$ vue init nuxt-community/typescript-template <project-name>
$ cd <project-name>
$ yarn install
サーバーの起動。
$ yarn run devブラウザでhttp://localhost:3000を開くと、謎のキャラ一覧画面が出てきましたw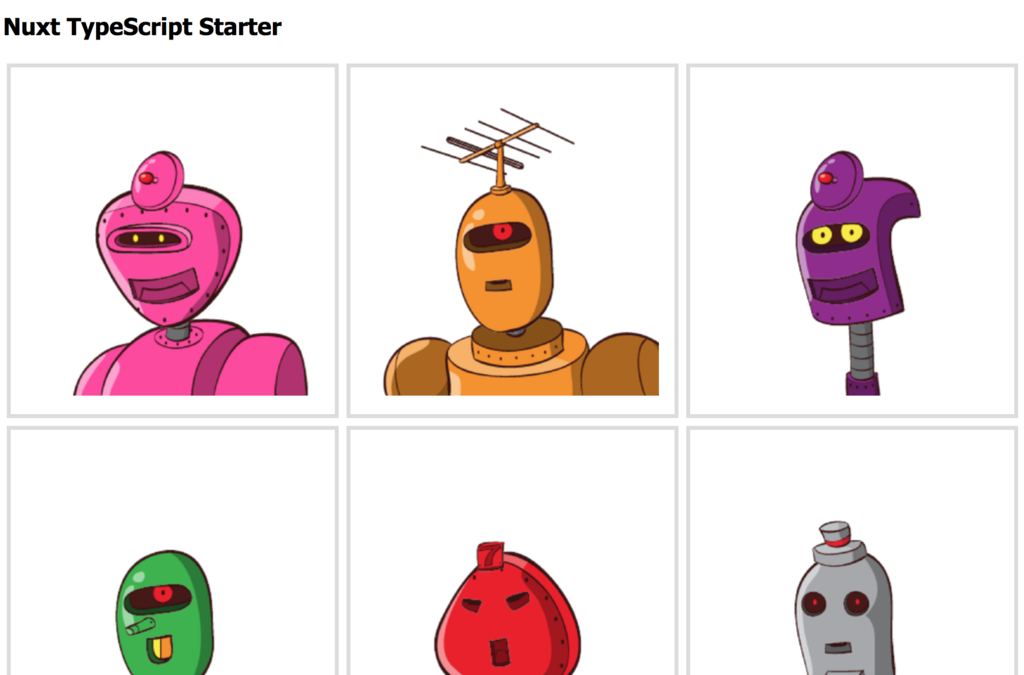
tslintの導入
loaderのインストール
$ yarn add tslint tslint-loadertslintの設定ファイルtslint.jsonを生成
$ ./node_modules/.bin/tslint --initnuxt.config.jsの編集
ビルド時にtslintを実行するようにします。
module.exports = {
  .
  .
  .
  build: {
    extend (config, { isDev, isClient }) {
      if (isDev && isClient) {
        config.module.rules.push({
          test: /\.ts$/,
          enforce: 'pre',
          loader: 'tslint-loader',
          options: {
            configFile: 'tslint.json',
            tsConfigFile: 'tsconfig.json',
          },
        })
      }
    },
  },
  .
  .
  .
tslint.jsonへのルール追加
お好みでtslint.jsonにルールを追加できます。
-    "rules": {},
+    "rules": {
+        "semicolon": [true, "never"],
+        "trailing-comma": [true, "never"],
+        "space-before-function-paren": [true, "always"]
+    },
これでとりあえずNuxt.jsプロジェクトの作成が完了です。
お疲れ様でした。